A Quick Introduction to Composting
Composting is a fantastic way to turn organic waste into nutrient-rich soil that nourishes your plants and reduces waste. Whether you’re an avid gardener or simply want to contribute to a more sustainable lifestyle, composting is a win-win solution.
In this simple guide, we will explore three different means of composting: fast composting through hot composting methods, slow composting for those seeking a hands-off approach, and vermicomposting, a fascinating project for the adventurous. We will provide step-by-step processes for each method and offer solutions to common composting problems.

Fast Composting Using Hot Composting Methods
Hot composting is an active method that quickly breaks down organic materials. By maintaining high temperatures, you can expedite the decomposition process. Follow these steps to achieve fast compost:
Step 1: Gather Your Materials
- Collect a balanced mix of “green” (nitrogen-rich) and “brown” (carbon-rich) materials.
- Green materials include vegetable scraps, grass clippings, and coffee grounds.
- Brown materials consist of dry leaves, straw, and shredded newspaper.
Step 2: Build Your Compost Pile
- Select a suitable location with good drainage and ample airflow.
- Start with a layer of brown materials as the base, about 6-8 inches thick.
- Add a layer of green materials on top, roughly 3-4 inches thick.
- Continue alternating brown and green layers until your pile is about 3 feet high.
Step 3: Maintain Proper Conditions
- Water the pile to maintain moisture levels similar to a wrung-out sponge.
- Turn the pile every week to aerate it, ensuring proper oxygen flow.
- Monitor the temperature; it should reach between 135°F and 160°F.
- If the temperature drops, add more green materials and turn the pile.
Common Problems and Solutions:
Foul Odor: Adjust the carbon-to-nitrogen ratio by adding more browns to reduce moisture and neutralize the smell.
Pile Not Heating Up: Check if the pile is too dry or lacks nitrogen-rich materials, and make the necessary adjustments.
Pests: Avoid adding meat, dairy, or oily food scraps that attract pests. Cover the pile with a tarp to deter animals.

Slow Composting for a Hands-Off Approach
Slow composting is an ideal method for individuals who don’t have time to actively manage their compost. Here’s how to achieve composting through the power of time:
Step 1: Choose a Composting Bin
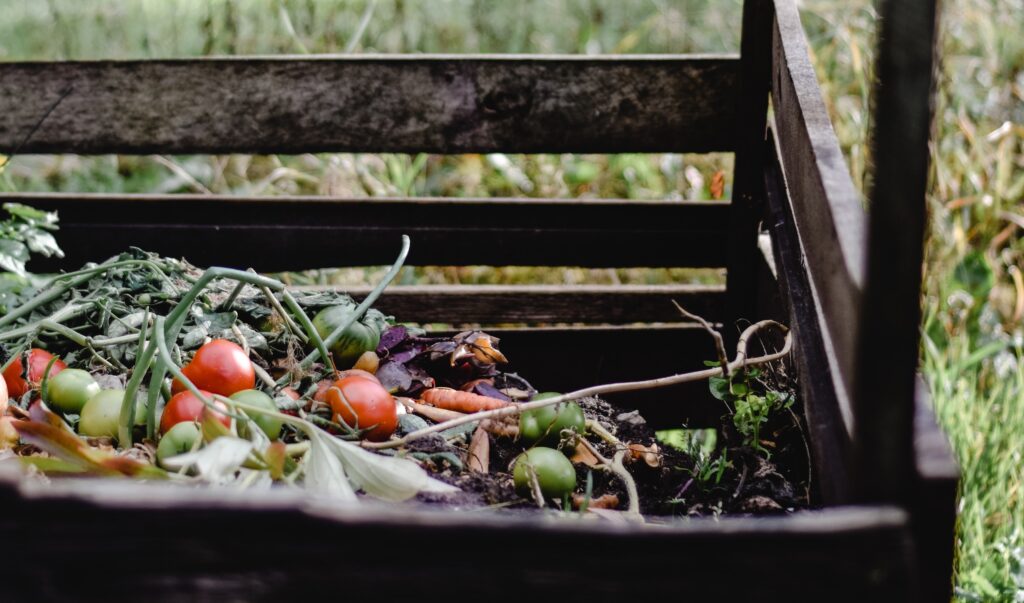
- Select a composting bin or build a simple enclosure using chicken wire or pallets.
- Ensure the bin has adequate drainage and is easily accessible for future turning.
Step 2: Layer Your Materials
- Start by adding a layer of twigs or straw at the bottom to enhance airflow.
- Add a mixture of green and brown materials, alternating between the two.
- Continue layering until the bin is full, ensuring each layer is no thicker than 4-6 inches.
Step 3: Let Nature Work Its Magic
- Occasionally water the pile to maintain moisture levels, similar to a damp sponge.
- Over time, the materials will decompose naturally, albeit at a slower pace.
- Every few months, use a garden fork or shovel to gently turn the pile, aiding the decomposition process.
Common Problems and Solutions:
Slow Decomposition: Ensure proper aeration by occasionally turning the pile. Consider shredding larger materials to speed up the process.
Excessive Moisture: Add dry leaves, straw, or shredded newspaper to absorb excess moisture and prevent unpleasant odors.
Pest Infestation: Keep the compost covered to discourage animals and minimize pest intrusion.

Vermicomposting – The Wonders of Worms
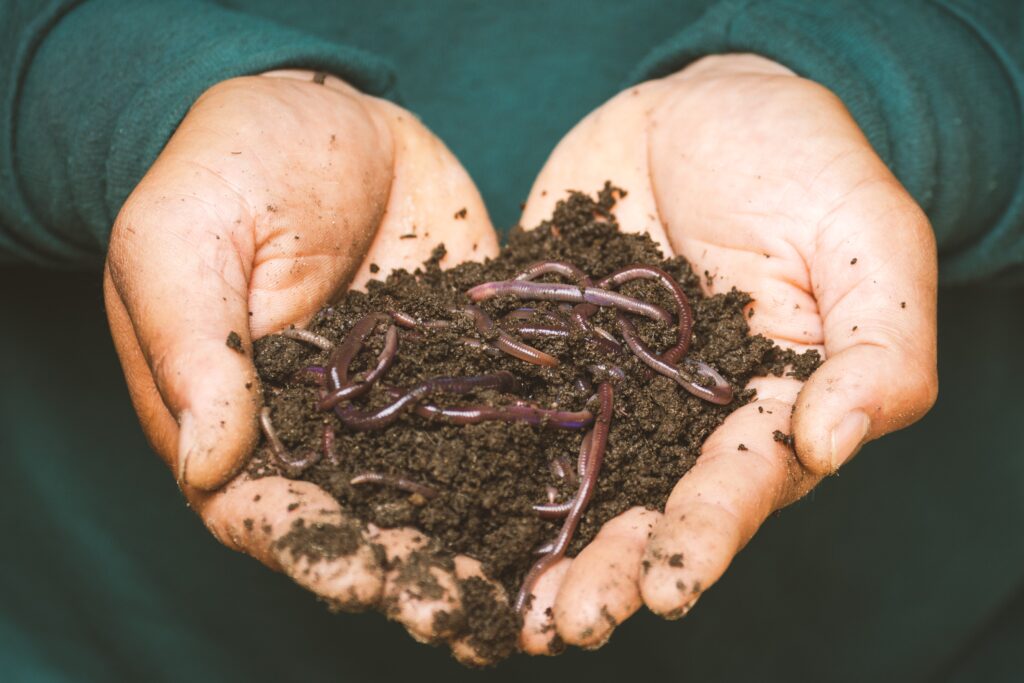
Vermicomposting utilizes worms to break down organic matter and produce nutrient-rich castings. Discover the fascinating process through these steps:
Step 1: Choose a Worm Bin
- Select a suitable container, such as a plastic bin or wooden box, with drainage holes.
- Place a tray beneath the bin to collect excess moisture (worm tea).
Step 2: Prepare the Bedding
- Shred newspaper, cardboard, or coconut coir into small pieces and dampen them.
- Fill the bin with the bedding material, leaving a few inches of space at the top.
Step 3: Introduce the Worms
- Purchase red worms (Eisenia fetida) or red wigglers from a reputable source.
- Place the worms on top of the bedding and cover them with a thin layer of bedding material.
Step 4: Maintain the Worm Bin
- Provide a balanced diet of kitchen scraps, avoiding citrus fruits, onions, and oily foods.
- Keep the bin moist but not waterlogged; periodically spray with water if it dries out.
- Cover the bin to create a dark and moist environment for the worms.
Common Problems and Solutions:
Foul Odor: Avoid overfeeding the worms, as it can lead to excess moisture and odor. Adjust the feeding quantity accordingly.
Worm Escape: Ensure the bin is secure and the bedding is properly maintained. Avoid adding acidic or spicy foods that may prompt worms to escape.
Fruit Flies or Gnats: Bury the food scraps beneath the bedding, and cover the food with a layer of moist newspaper to deter flies.
Pick a Method and Try it Out
Composting is an eco-friendly and rewarding practice that transforms organic waste into a valuable soil amendment. Whether you prefer fast composting, slow composting, or vermicomposting, there’s a method that suits your lifestyle.
By following the step-by-step processes provided and being aware of common problems and solutions, you’ll be well on your way to successful composting. Start today and make a positive impact on the environment while enhancing your garden’s health and vitality.

